February 29, 2024
Training and deploying an Iris flower classification model using TrueFoundry

July 11, 2022
Share this post
%20(10).png)
In this example, we train a model that can classify a flower of the iris genus into one of three species based on size measurements of its petal and sepal.
You can also follow this example on a Google Colaboratory notebook.
The Iris dataset contains three different species :
- Iris Setosa
- Iris Versicolor
- Iris Virginica
We need to build a classifier that can identify the species of the flower given the following parameters:
- Sepal Length
- Sepal Width
- Petal Length
- Petal Width
About TrueFoundry
TrueFoundry provides two libraries for simplifying your ML workflows:
MLFoundry
mlfoundry library is used to track ML training experiments.
Why do you need experiment tracking? If you are training multiple ML models to solve a problem, you will likely train multiple models with multiple frameworks, hyper-parameters and multiple datasets. Tracking your experiment using a library like mlfoundry can help you organise your ML experiments.
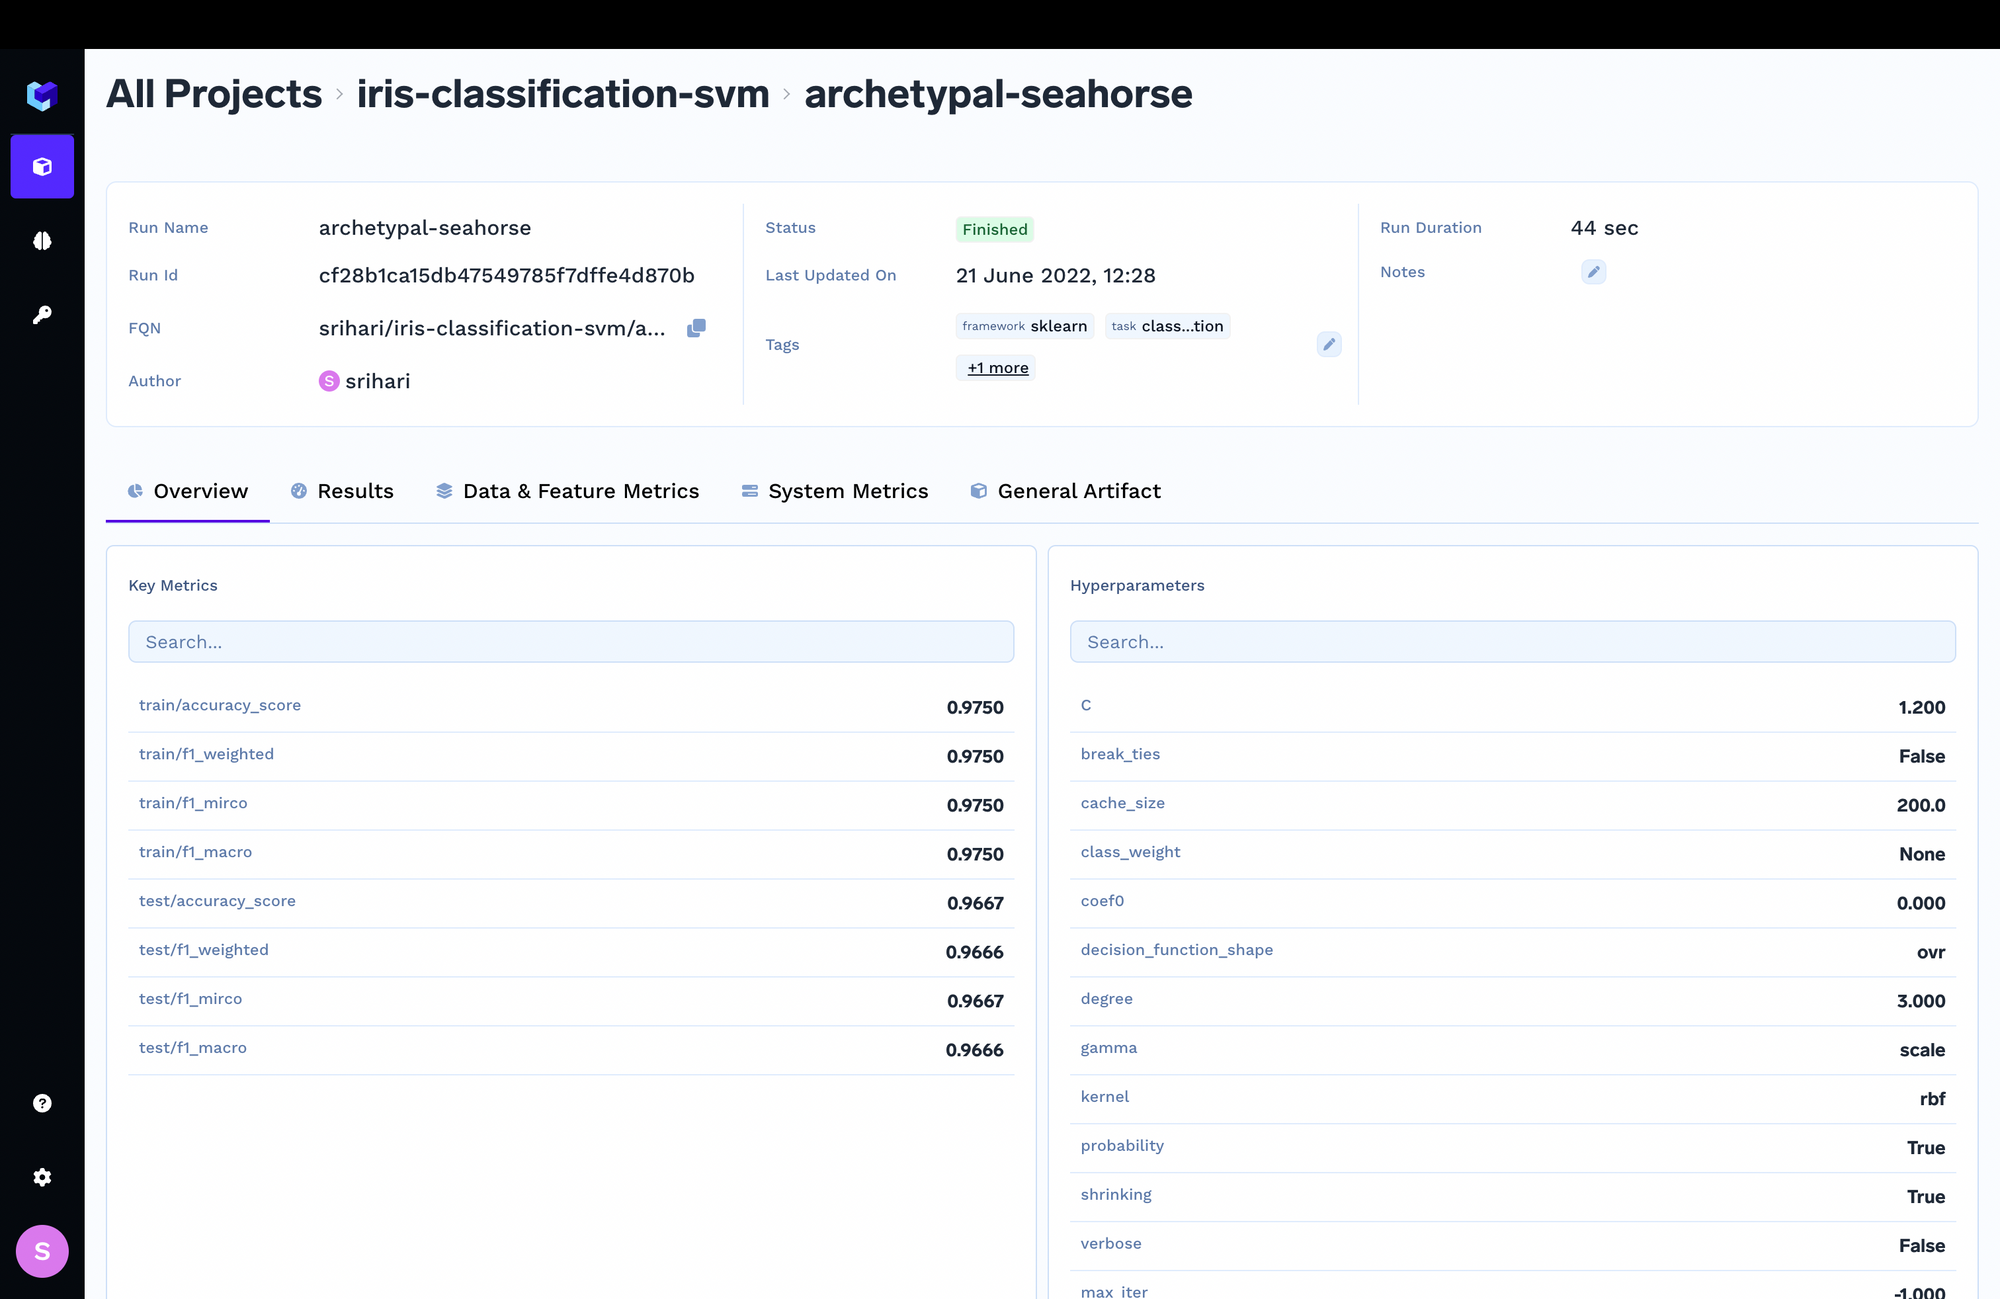
You can use MLFoundry to log hyper parameters, metrics, datasets and models. You can then compare different experiments on the TrueFoundry dashboard and choose a model to deploy in production or decide to re-train the model.
We shall use 5 different APIs from MLFoundry in this example. They are:
- log_params - use it to log hyper-parameters of the current experiment
- log_dataset - used to log the entire dataset
- log_metrics - log metrics like accuracy scores, f1 scores
- set_tags - add tags to your experiment for easy filtering later on
- log_model - to save a model including the trained weights
ServiceFoundry
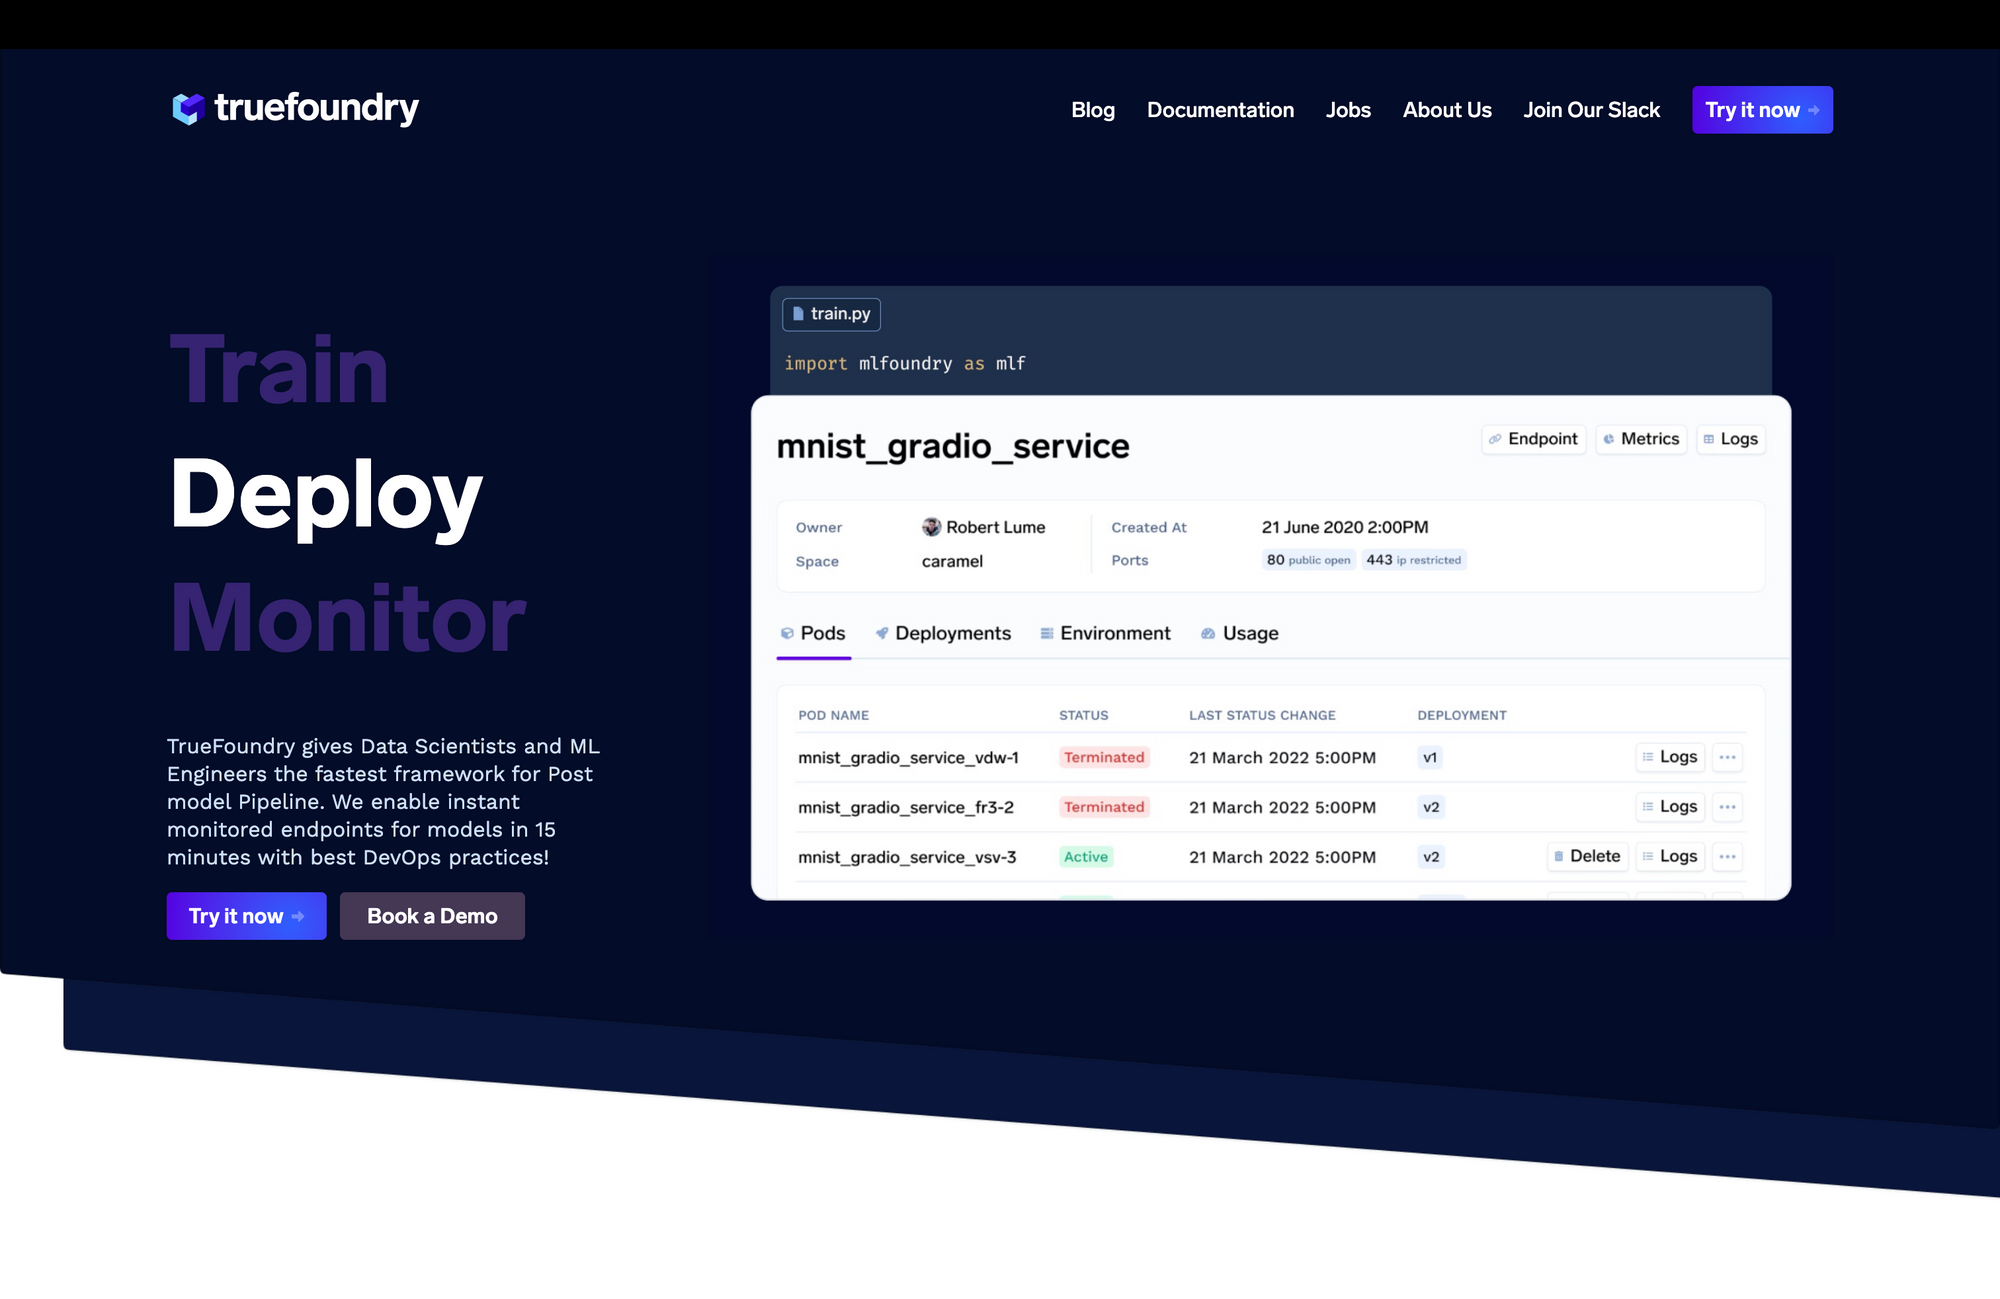
Using the servicefoundry library, you can package, containerise and deploy a model into a Kubernetes cluster easily.
Let's train a model and log it using MLFoundry
Open an IPython notebook - you can either use Jupyter running locally on your machine or a Google Colab notebook that runs on the cloud.
Install required libraries.
Login to TrueFoundry. Create and copy an API key from the settings page. Use this API key to initialise the MLFoundry client and create a run. A run is an entity that represents a single experiment.
Fetch the Iris dataset using the sklearn.datasets module. We then divide it into test and train datasets.
Let's take a look at the target names. We will use this to map from the integer output from the model to the actual names of the species
Initialise a model. Then use MLFoundry to log the parameters of the model and create some tags for this current experiment run.
Next, we train the model on our train dataset. Once the training is complete, we compute the various metrics and log them to MLFoundry using log_metrics.
If we are happy with the accuracy scores and other metrics, we can choose to deploy the current model. For that, we need to save the model and copy the current run id.
You can see all your runs and compare metrics through the TrueFoundry experiment tracking dashboard.
Deploying our model as an API service
To deploy the model using ServiceFoundry, we need to create a Python file containing the function that we want to expose as an endpoint.
Inside that Python file, we will fetch the model we just trained and saved using the run id, using mlfoundry. Note that API key required by mlfoundry will be available as the environment variable TFY_API_KEY.
In your IPython notebook, create a block with the following contents and run it to create a Python file named predict.py. We use the Jupyter magic command %%writefile to create the file in the notebook environment.
Inside the species function, we load the features into a pandas DataFrame and make the prediction using the model. We translate from the integer class to species names using the target_names we printed during training.
That's pretty much all the work you'll need to do. Now let's deploy this model as an API service. First, install and import servicefoundry in your notebook. Login to servicefoundry.
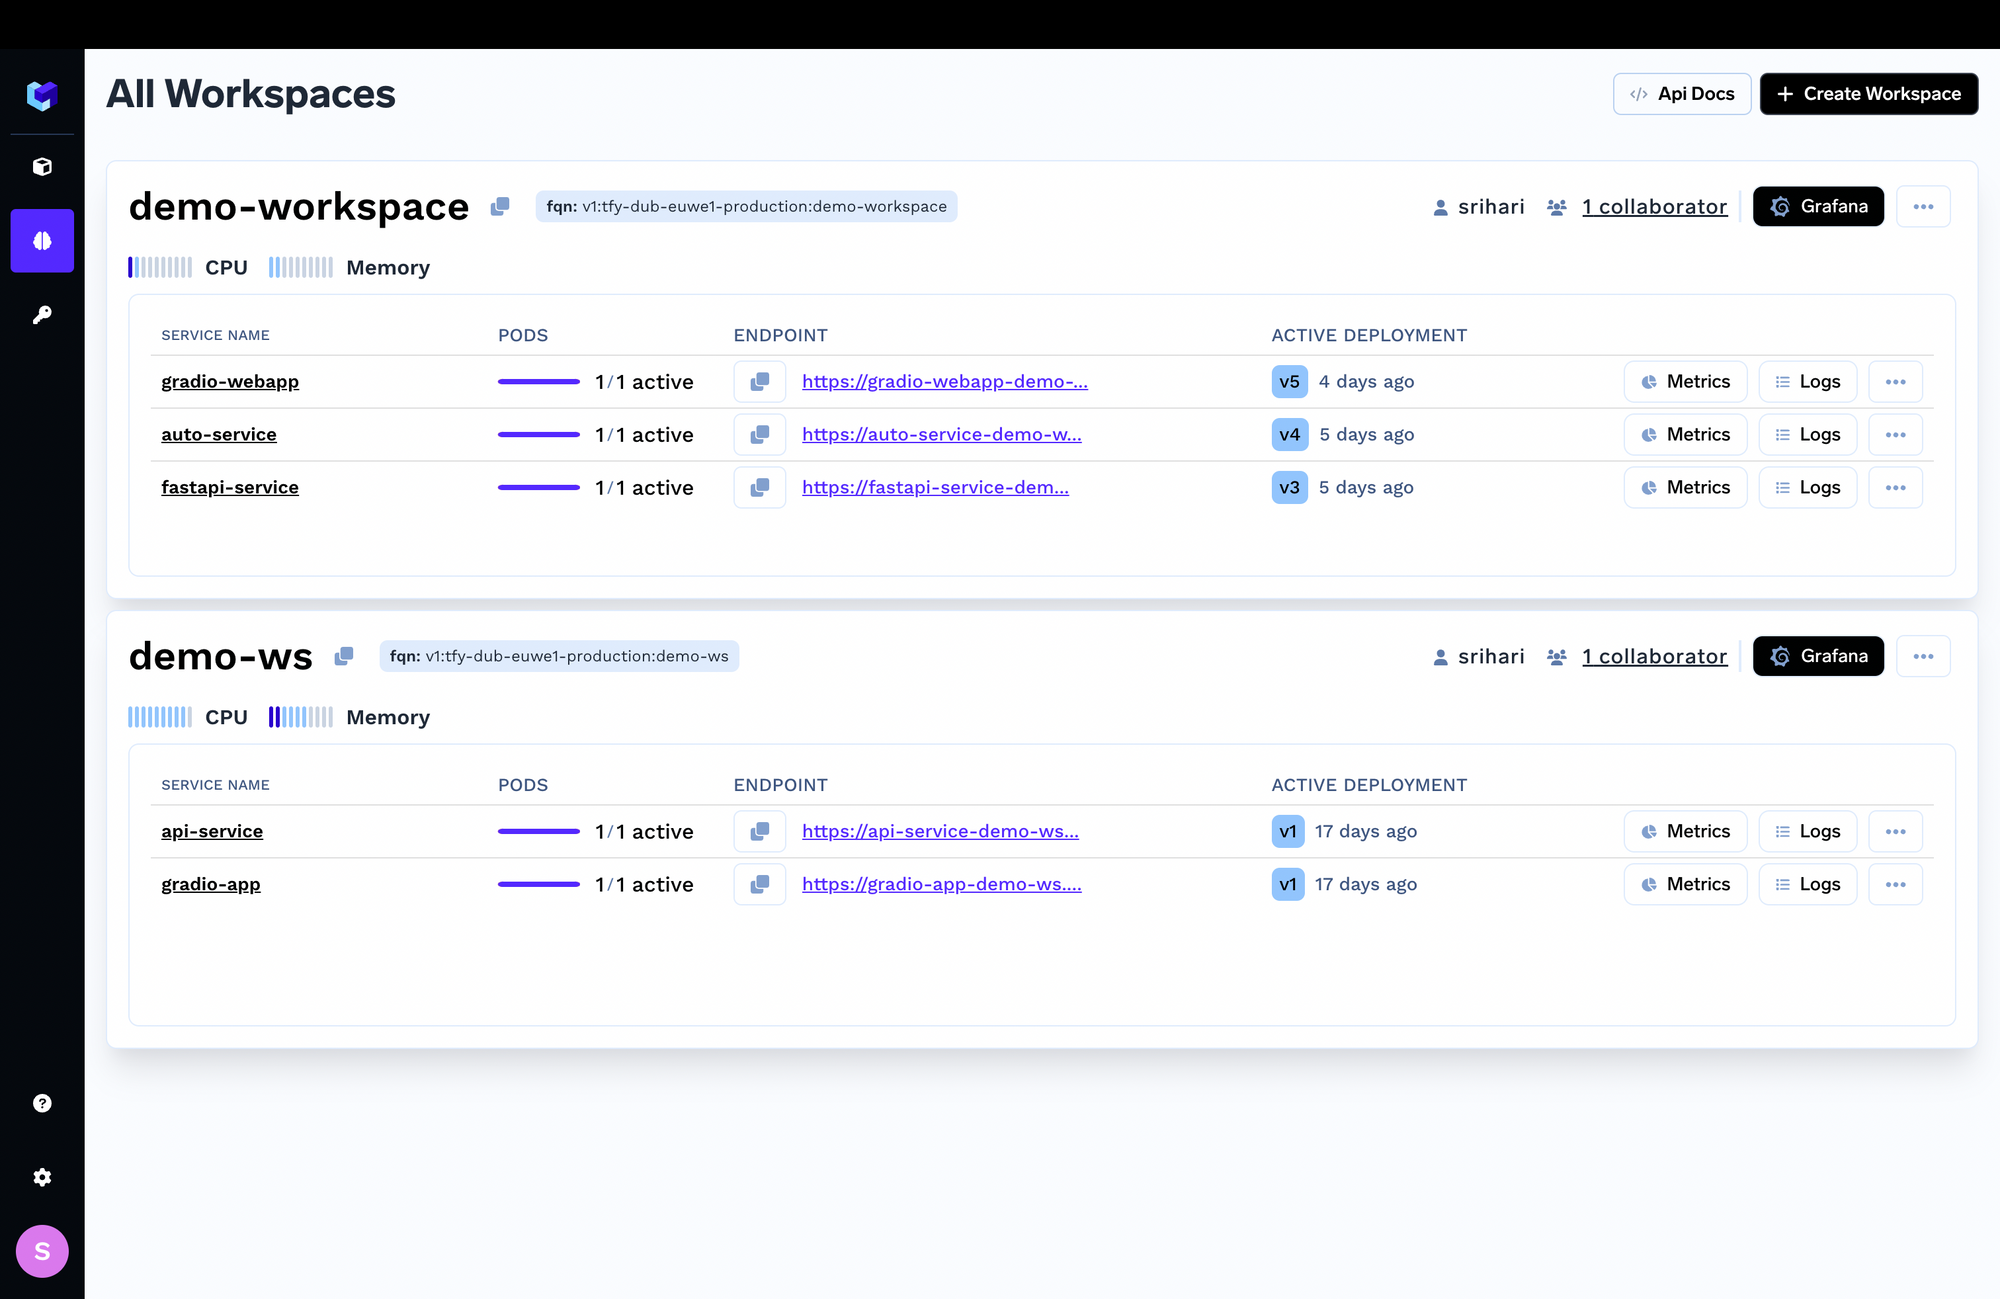
Go to the TrueFoundry dashboard and create a workspace to deploy the service. Workspace are a way to group together related projects inside TrueFoundry. Once the workspace is created, copy the FQN so we can tell servicefoundry where to deploy the model.
servicefoundry library lets you gather all the dependencies of the file you just created using gather_requirements function.
Now create a sfy.Service object, provide the workspace FQN and deploy it by calling .deploy()
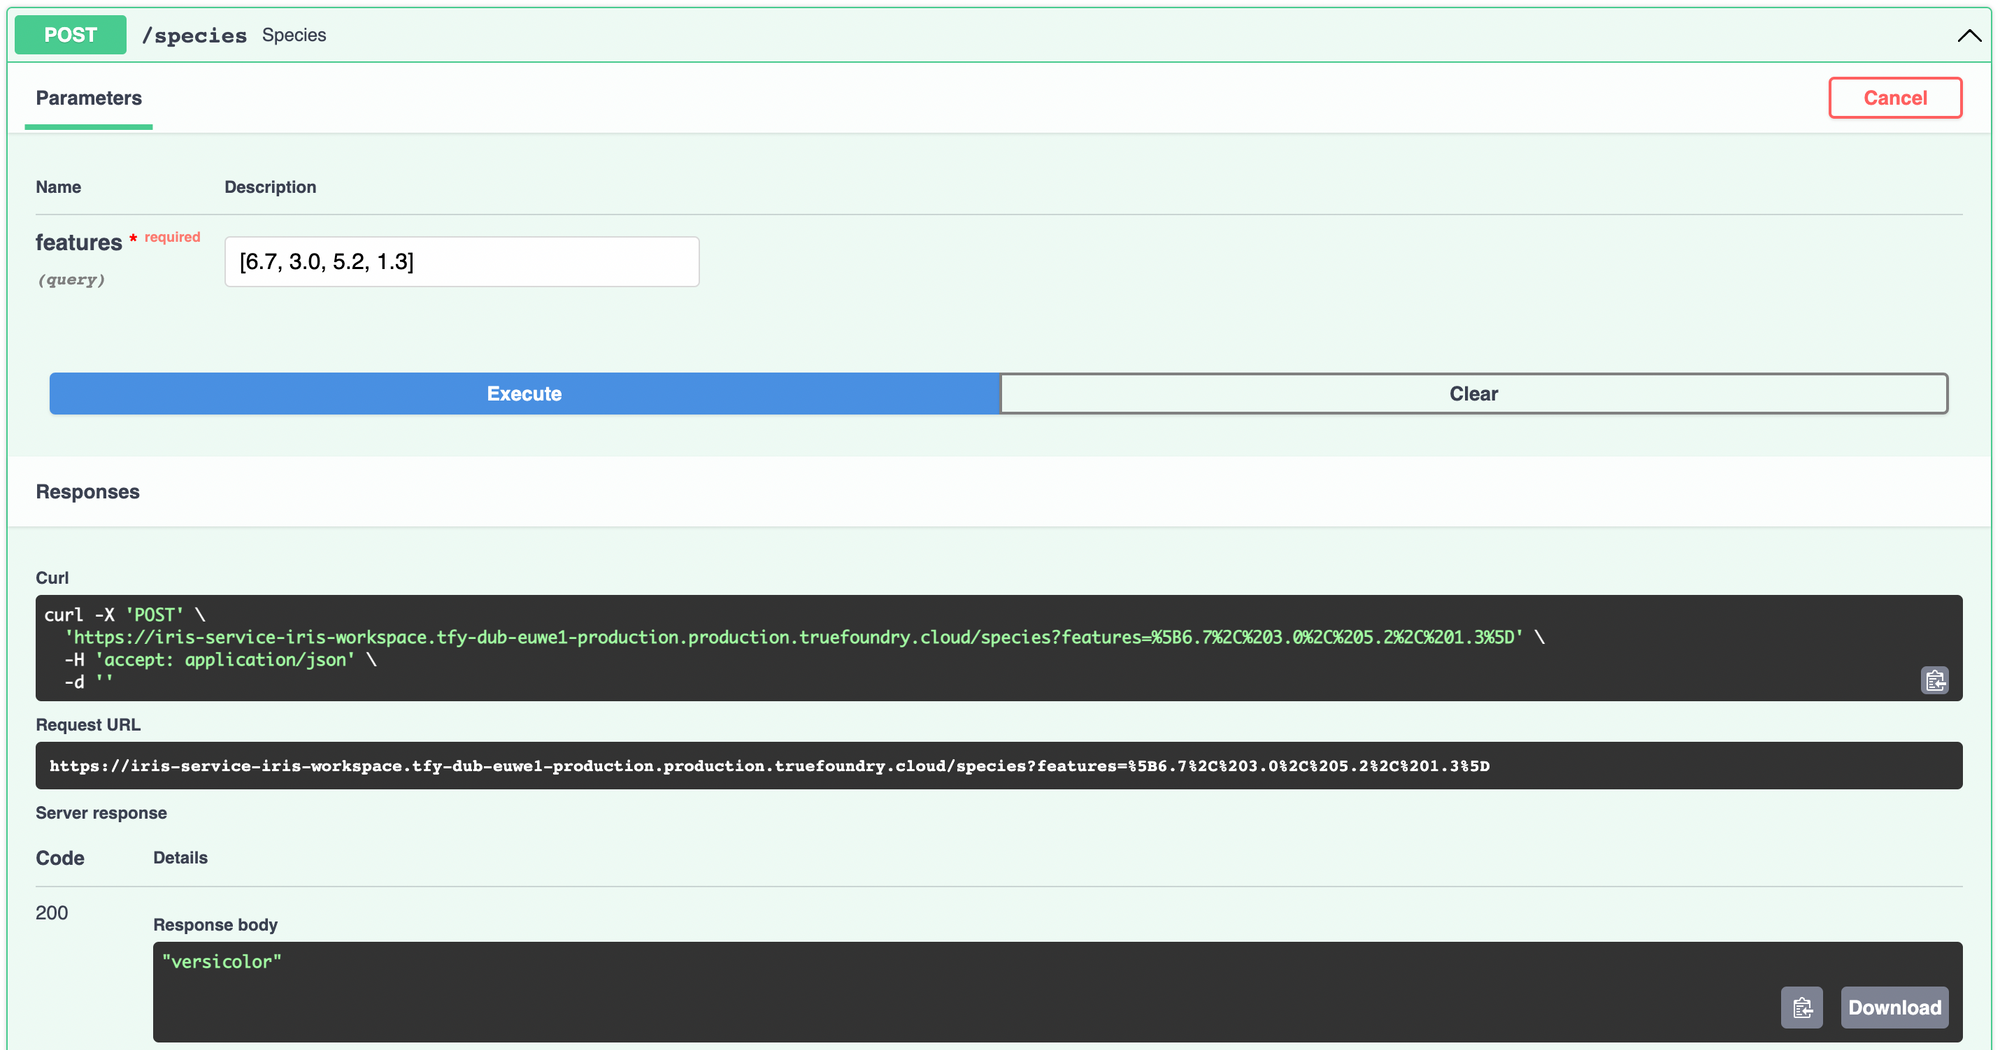
You can track the progress of this deployment on the dashboard. Once the deployment is complete, you can access the deployed service from there and try it out.
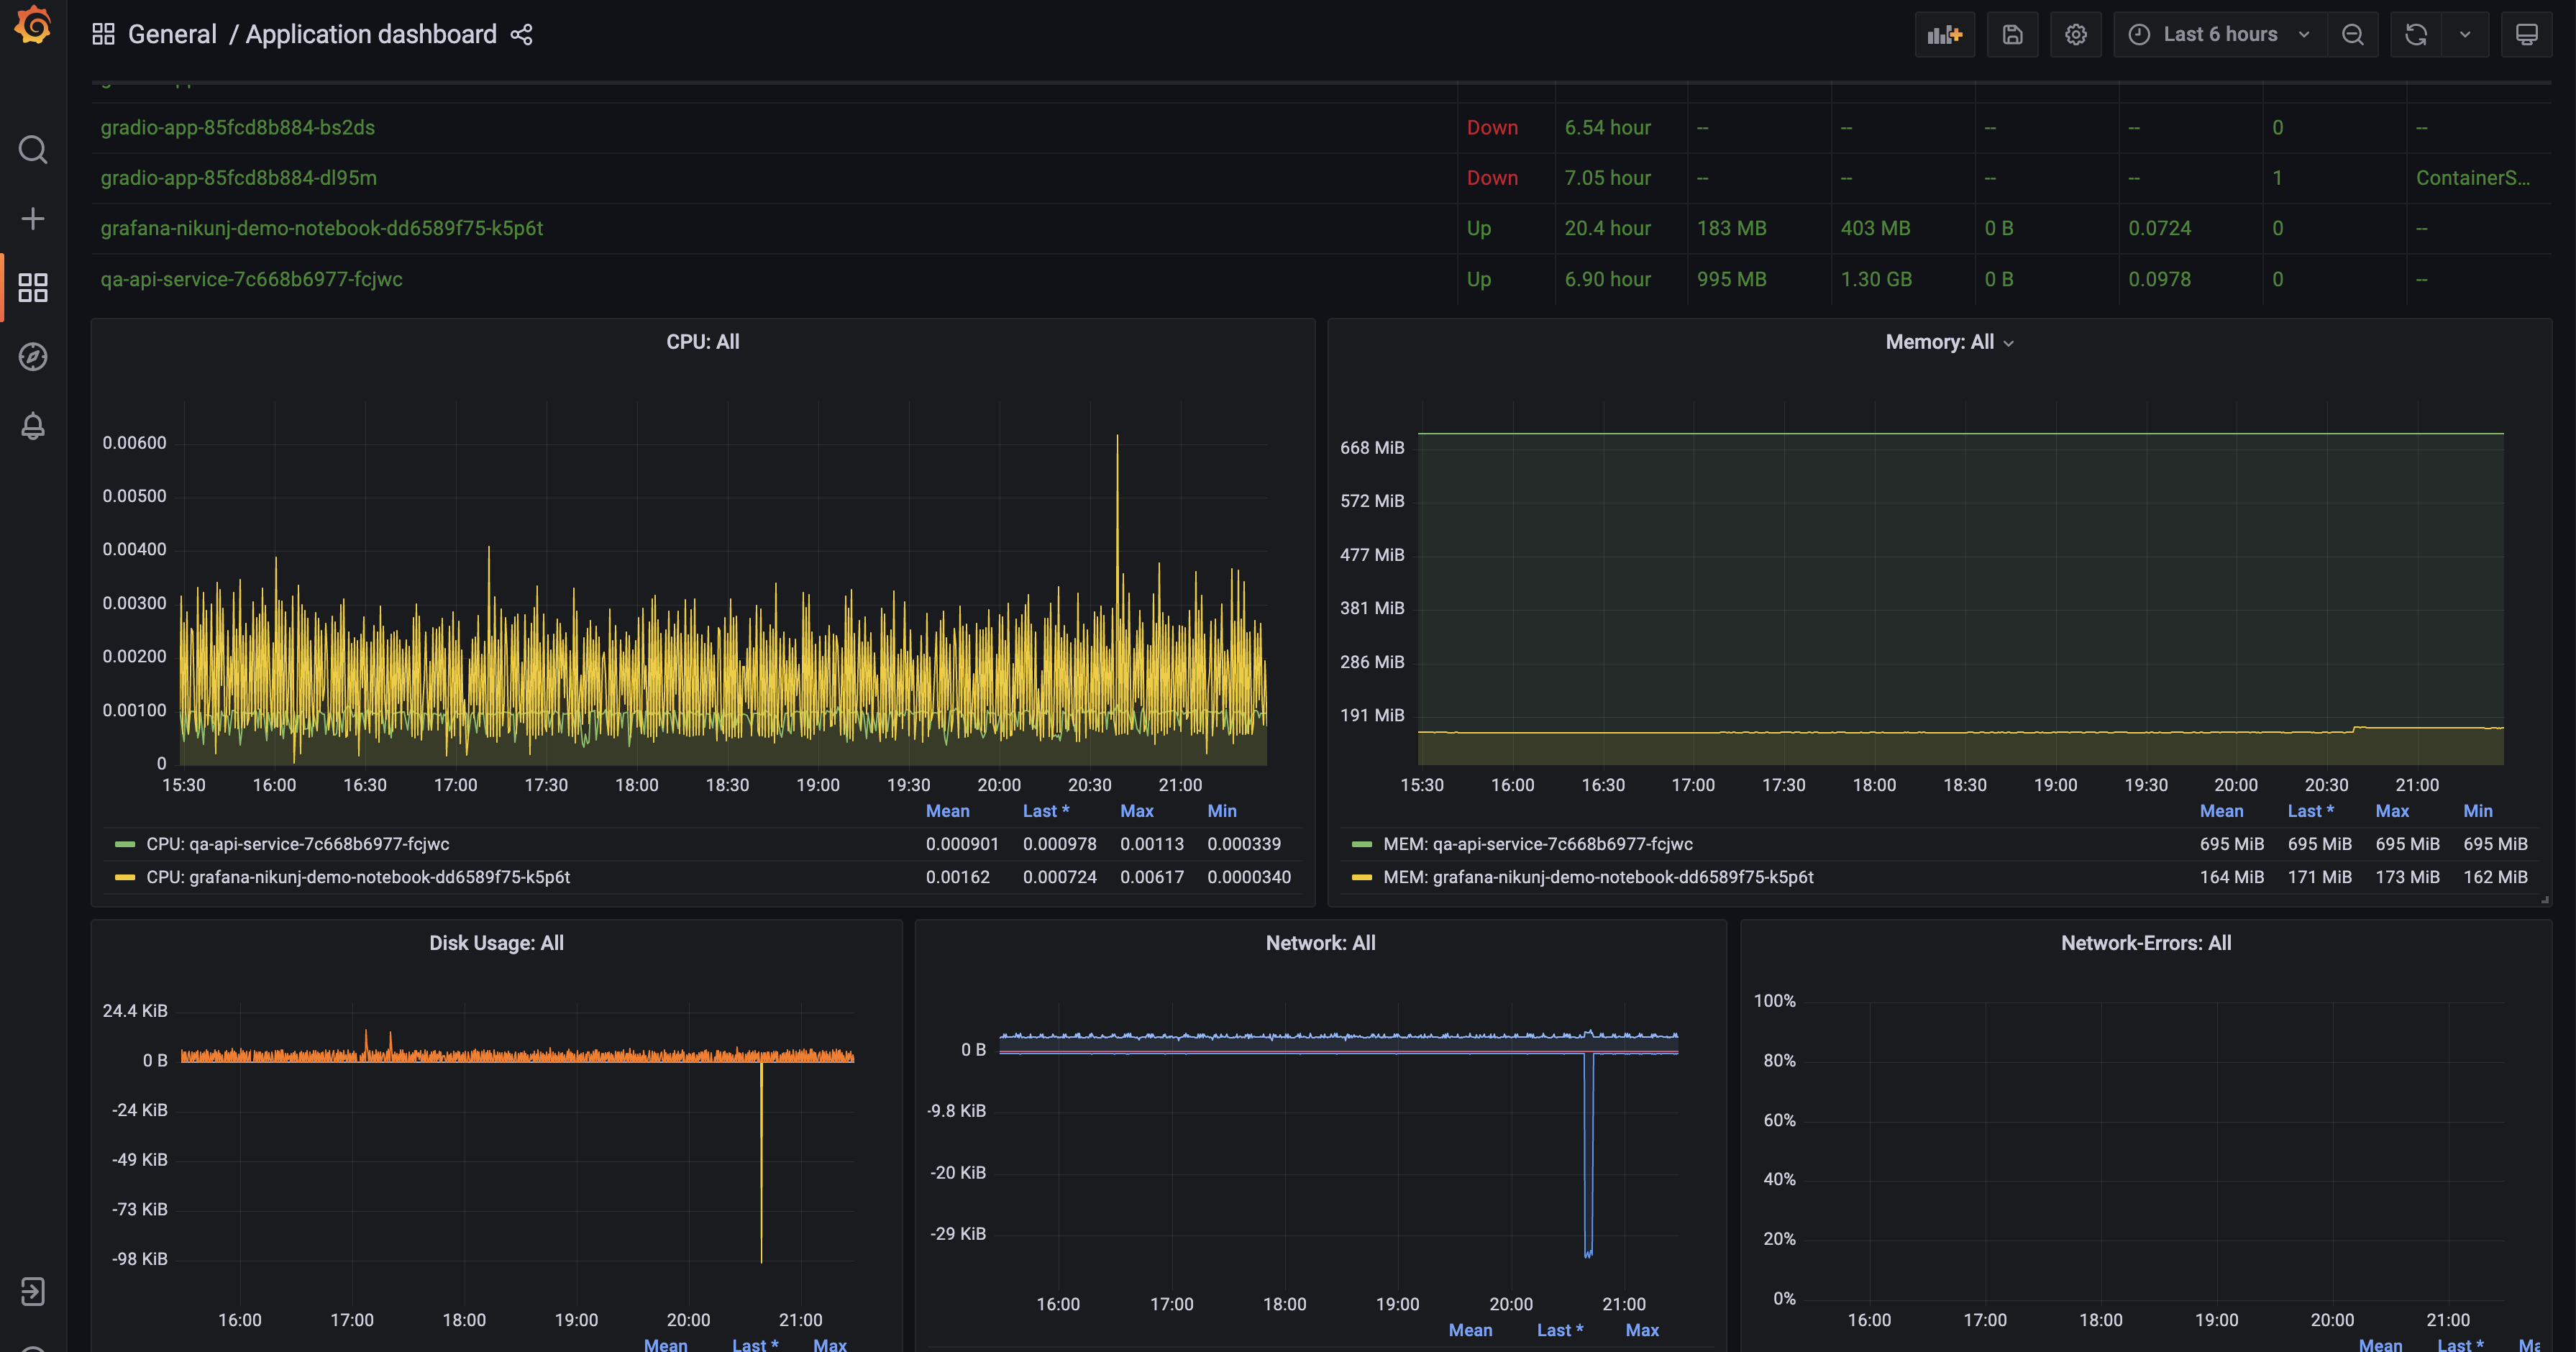
The TrueFoundry dashboard also links to metrics and logs that come out-of-the-box with TrueFoundry deployments in the form of Grafana dashboards. You can read more about them here.
More features
You can also deploy interactive UI applications and Gradio applications easily from an IPython notebook using servicefoundry. Read this guide to see how.
We are working on making the integration between experiment tracking and deployment even tighter and the experience, more delightful. You can read about other things you can do with TrueFoundry at our docs.If you are training machine learning models to solve a problem, TrueFoundry helps you track different experiments and makes it easy and intuitive to deploy models with best practices and make it available for public use in a matter of minutes.

Subscribe to our Newsletter

Delivered twice a month
Join AI/ML leaders for the latest on product, community, and GenAI developments

%20(11).png)